Use Remote Desktop to Transfer Files to Your Windows Server
Transferring files to your new Windows Server can be a hassle when you are first setting everything up. Plesk, FTP, or network file sharing might not be quite ready to use or your internet service provider may block those web ports. This is where transferring files via the Remote Desktop Connection program comes in! You can redirect your workstations hard drive and it will appear when you are logged in.
Opening The Program
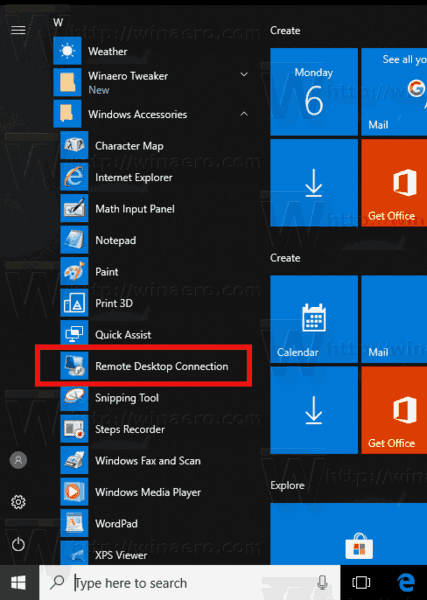
This program comes with all Windows operating systems. You can click the “Start” button and search for “Remote Desktop Connection” and a computer with green arrows should come up. This is the program we will be using.
![]()
Configuring The Program
Here are the steps to configure the program to redirect your local workstation’s C drive.
- Input your server’s IP address in the “Computer” field

- Select the “Local Resources” tab
- Select the “More” button

- Expand the “Drives” section
- Select the “Local Disk C:” (and any other drives)

- Click “Connect”
Accessing Your Files
Once you are connected to the server, you can follow the steps below to access the files.
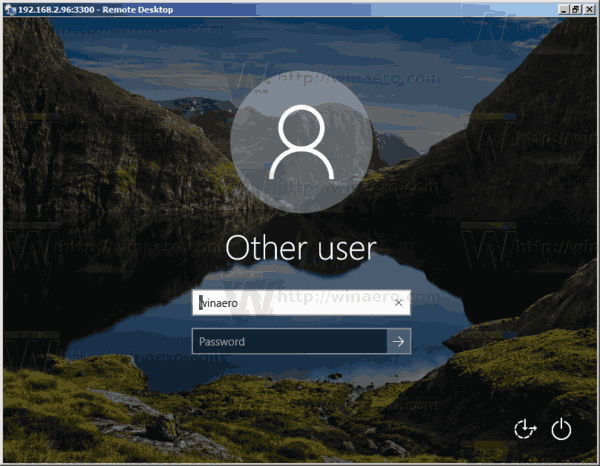
- Login to the server using the new settings
- Open “File Explorer”
- Select “This PC” or “Computer”
- Double-click “C on [Your Local Workstation]”

You should now be able to see all of your files on your local workstation! Keep in mind there is a file size limitation of 2 GB when transferring files through this method. Additionally, transfer speeds may be a little slower.
You can use Plesk to set up FTP which can then be used to transfer large files. Plesk also has a built-in File Manager.
*****************
Save Remote Desktop Connection Settings to RDP File in Windows
In this article, we will see how to save credentials for Remote Desktop Connection to an RDP file. This will allow you to export all settings you made for the remote session to a file. Next time you need it, you can double-click the RDP file you created to quickly restore your preferences and options.
Before we continue, here are some details about how RDP works. While any edition of Windows 10 can act as Remote Desktop Client, to host a remote session, you need to be running Windows 10 Pro or Enterprise. You can connect to a Windows 10 Remote Desktop host from another PC running Windows 10, or from an earlier Windows version like Windows 7 or Windows 8, or Linux. Windows 10 comes with both client and server software out-of-the-box, so you don’t need any extra software installed.
First of all, enable Remote Desktop on the target PC as described here:
How To Enable Remote Desktop (RDP) in Windows 10
mstsc.exe is the built-in client software which allows connecting to a computer via Remote Desktop Protocol (RDP). It is a special network protocol which allows a user to establish a connection between two computers and access the Desktop of a remote host. The local computer is often referred to as the “client”. If you are running Windows, in most cases you use mstsc.exe to connect to another computer with RDP. Tip: See Remote Desktop (mstsc.exe) Command Line Arguments
To save your Remote Desktop Connection settings to RDP File in Windows 10, do the following.
- Launch mstsc.exe from the Run dialog (press the Win + R shortcut keys together on the keyboard) or from the Start menu.
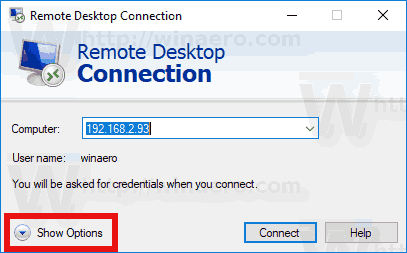
- Configure the desired options including the remote address, display options and other settings you want to customize. Click Show options to display more settings.
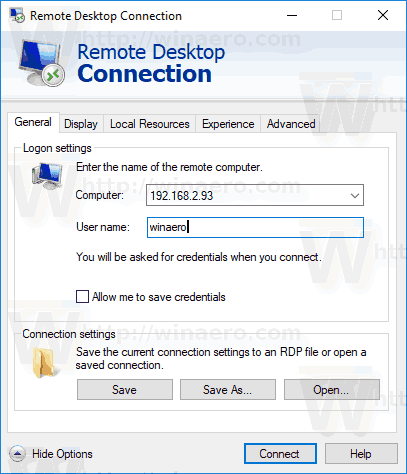
- Now, click on Save As button in the Connection settings section on the General tab.
- This will create a new RDP file with your options. Specify the desired location to store it.
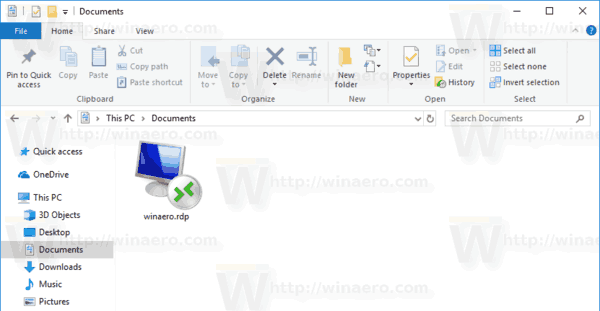
The selected connection settings will be saved to the RDP file you have specified.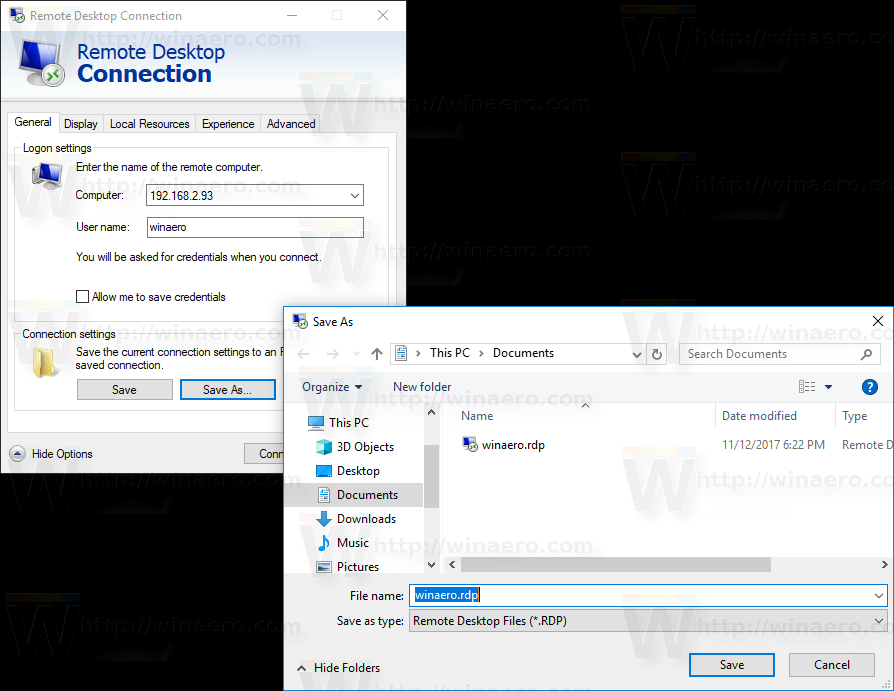
To launch the saved session, open File Explorer and go to the folder where you store your RDP file. Double click it to establish the connection.
Alternatively, you can launch mstsc.exe again and select on the Open button on the General tab. Browse for your RDP file and you are done.
![]()